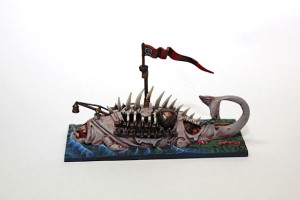
 When I first saw a picture of the Skabrus, I thought that this ship was going to be the hardest. The awful dirty colours, the see through sickening skin and the intricate parts made for a hard ship.
Well guess what, the ship was actually very easy to do, as long as a few precautions were taken. Namely keeping the ship in as many pieces as possible for painting!
Let me show you how I painted this ship.
The ship was assembled in the following way: The two main large pieces of the fish were glued together… that’s it! Everything else had to be kept apart to ensure we could get to all the details.
 Next everything was base coated in a black under coat.
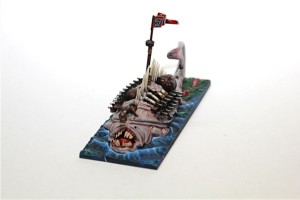
The Hull was base coated in GW Dheneb Stone. Two washes were combines to form the colour of the rotting fish; a 1:1 mix of GW Leviathan Purple and GW Ogryn Flesh. Try to get as much of this to gather in the creases as possible. Once dry I applied the same wash mix all over the body of the fish. Now that the fish had some colour and the shading sorted out, take the GW Dheneb Stone and water it down, apply this water coated to the ridges of the fish as a highlight. Being watered down, the wash underneath will still show through thus giving the skin colour a sickly pasty look. Apply several coats of the watered down GW Dheneb Stone to increase the highlight on the highest ridges.
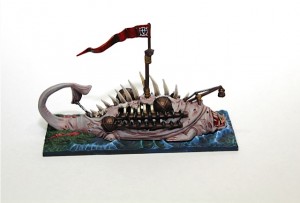 The wooden planks were painted in GW Calthan Brown. Once dry, mix a 2:1 ration for Calthan Brown and GW Bleached Bone and dry brush this on. Next mix a 1:1 ration of Calthan Brown and Bleached Bone, and dry brush this on the edges and raised areas.
The Brass orbs and bell was base coated with GW Tin Bitz. They were drybrushed with GW Dwarf Bronze. The final highlight was a 2:1 mix of Dwarf Bronze and GW Mithrils Silver which was dry brushed on the very edges.
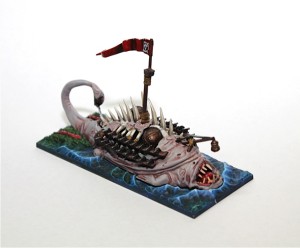 The protruding bones and teeth were all base coated in GW Dheneb Stone. A Wash of GW Devlen mud was then applied to the lower recesses. Once dry another wash of GW Gryphonne Sepia was applied on top of and around the previous wash (in a cascading effect). Once dry, the area was then drybrushed in GW Bleached Bone. A final highlight of white was applied to the very tips and edges.
The internal organs on the base were base coated with several layers of GW Red Gore. Once dry, they were layered with GW Blood Red. A shade of Devlan Mud was the applied to the base for shading. A highlight of 3:1 mix of Blood Red and white was applied to the edges and raised areas. The final highlight of pure white was painted on as a line on the very top of the organs to give a gleaming effect.
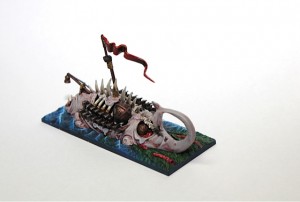
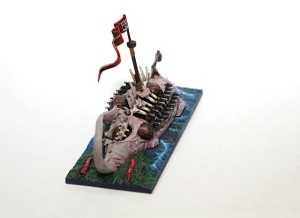 Assemble all the pieces together prior to the final glueing to ensure that no parts have been missed in the painting (look at what internal organs are exposed to see if they require further highlighting). Once your happy with this, glue all the parts together and spray a matt coat over for protection.

Pingback: Dreadfleet Box Set - WIP - Centerpiece Miniatures