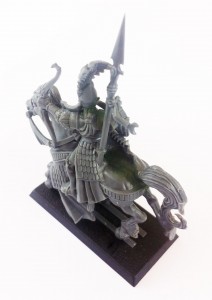
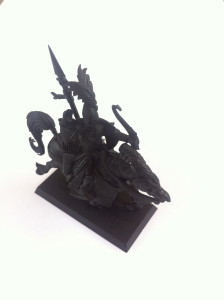
Once you have cleaned your miniature from mold lines and any imperfections, it is time to assemble, patch any holes and then undercoat it.
When assembling your miniature, try to think several steps ahead and ensure that there will be no pieces that are to be glued on that will hinder you reaching those areas to paint later on. Banners, large weapons and shields to name a few can be problematic. I would normally leave these items off the miniature and glue any other components on.
Typically you would glue plastic miniatures with special plastic glue that actually melts the plastic together. I use the Games Workshop plastic glue for this. Standard superglue is reserved for metal or resin models. You can also ‘pin’ large miniature parts together which will offer extra support to the miniature. I will cover pinning in depth in a future post.
 Once the glue is dry, we will need to ensure that there are no holes or gaps in the joinery. If there are gaps you will need to seal them using modelling putty, model fill or ‘green stuff’. I tend to use the liquid form of ‘green stuff’ from Games Workshop. I am able to water it down to patch light areas or to leave it thick for areas with wide gaps. I apply green stuff to areas with gaps or uneven parts using a paintbrush. If you do decide to use ‘green stuff’ and do water it down, just note that it may take several attempts to completely cover a gap as the ‘green stuff’ dries it contracts.
Once the filling material has dried, take a modelling blade or file and sand back the excess fill off the model. This will ensure a nice smooth area to paint on and also ensure that the area is not raised and bumpy from the fill.
Next step is the undercoat. There are many ways to undercoat a miniature and in many colours. All methods have one thing in common, that is undercoating assists in being a adhesive to bond the forthcoming paint job to the model itself, and that select colour used for undercoating will come through in the paint job. By that I mean if you use light undercoats, the paints applied over it will be lighter then say having a black undercoat, of which the same paints will appear duller.
 My personal preferences range from using white spray can undercoats for intended lighter colour miniatures (Such as Elder, or High Elves or other fantasy miniatures which need bright vibrant colours), to using black undercoats for darker or metelaic miniautres (Such as knights, or evil creatures. There are others that use grey undercoats which provide a good medium balance for the forthcoming miniature paintjobs, but lately i actually just like using black. If i need to have lighter areas on the miniature, i ensure i either undercoat that area in a white or light colour, or i paint several thin layers of that colour over the black (epending on the colour).
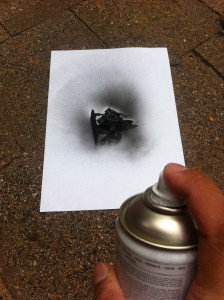
Undercoating is easy when using a can – spray the undercoat on the miniature from a distance of about 30cm, wait 20 seconds for the undercoat to set, then spray other site of miniature. It’s not imperative that you coat every nook and cranny on the miniature, but you do want a nice coating over most of the miniature. Also be aware not to dowse the miniature and thus lost valuable detail. I normally undercoat using small bursts from the can.
Once the miniature is dry from undercoating, i will normally take very diluted black paint and wash it over the miniature again paying particular attention to capture those nokes and crannys we missed when we sprayed the undercoat on.
 Once dry we have a miniature ready to be painted. So now we have to decide where on the miniature to start first…
