In this tutorial we’re going to covers how to paint marble effect on smooth surfaces such as miniature bases or pillars. The paint colors used in this tutorial will provide a white/bone color marble, but you can use your own colors to give the desired look your after. An idea if you try your own colors is to do the colors listed below to give the white marble affect but then glaze the finished product with your desired color.
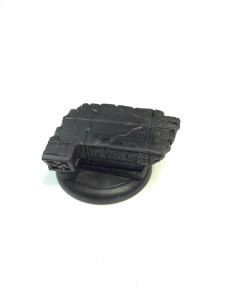
Step 1. Preparing and Undercoating
The first step is before undercoating the base is to ensure that it is smooth. If your trying this on a rough surface it work as well (if at all). If you have to take sand paper to the surface then do so (use a 400 – 600 grit).
Once you have the smooth surface, undercoat it with black. Dont use any pale colored undercoats such as white or grey as the black needs to come through the top coats later on.
Step 2.
The base color i’ve chosen is a pale off white color. I took equal mix off GW Ushabti Bone and white and just for a bit of added warmth another small part of Kislev Flesh and mixed it to make the base color.
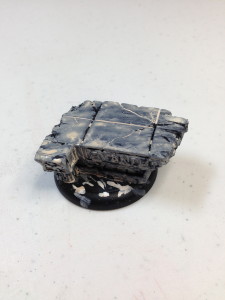
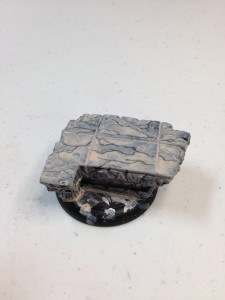
Add enough water to make the paint the consistancy of milk. Then using a larger brush (a size 2 or size 3) and paint streaks of the base color over the black undercoat (try to keep it going in one direction to simulate the grain of the marble).
Wait until this first coat is dry before moving to the next step.
Step 3.
After the step 2 coat is dry, you will notice that the coat may not simulate the brushed marble grain effectilvy. Thats ok, just redo exactly what you do in step 2 at this stage. Rebrush the base using the same brush and the same watered paint mixture in the same direction as before.
Once this starts to dry you will start to see the grains of the marble coming through.
Step 4.
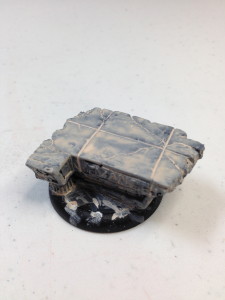
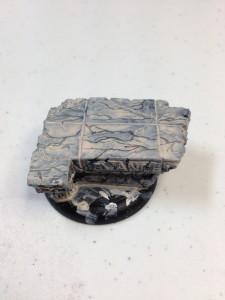
Take the original mixture that we have used for your base coat and add a little black to it (it should make a dark grey color). Using a fine brush (size 00) start to draw ‘branch or root’ like lines following the marble grain. For example, where ever you see a dark patch meet a light patch, draw a line where they meet. Have some of the lines meet up and break away from other lines. Always keep the lines moving in the same direction as the stage 2 and stage 3 brush strokes.
Step 5.
Take a smaller brush (size 000) and make some more lines using the stage 4 mixture (or you can add a little white to the mixture to make your lines look finer) coming away from the larger lines. It should almost start looking like a Tree’s root system.
Step 6.
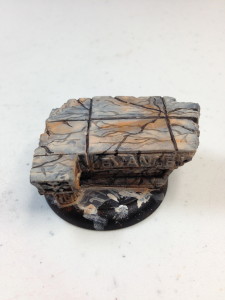
This step is optional but I think it’s a perfect way to add color to the marble without glazing the whole thing. This step I pciked an earthy brown color pgiment powder (read this as weathering powder) and dabbed it around the base and smudged it in with my finger. There is no need to be neat here, if you have some the powder spill around edges and in small areas then it will produce a more natural effect.
Step 7.
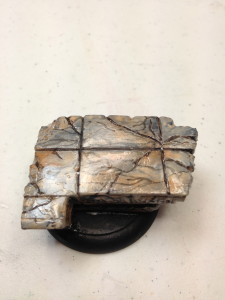
Finally I like to gloss the marble to give it a nice polished look. There are several ways to polish (using gloss varnish for example), but I perfer to use a water effect solution. These can be from any comapny (Games Workshop, Vallejo ect), but we do want to make sure it is a gloss finish.
Coat the whole marble area in the water effect and allow to dry.
Completion
We now should have a nice marble base to compliment you miniatures.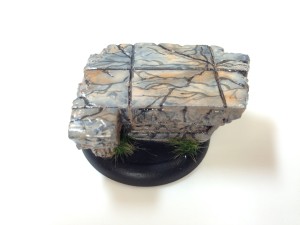






Pingback: Tint Your Tribe – Shin High Terror!