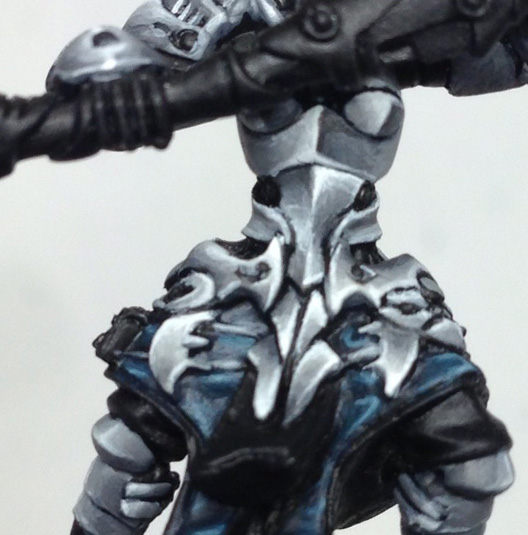
 I’ve recently started collecting a Retribution of Scyrah army for the Warmachine game. I liked the white color scheme of the studio army shown in the rule book but I hate painting white (such a pain to paint the shades). I decided that there two elements needed to be incorporated into my army. The first being that I’ll change the white of the color scheme to a pale grey. The second is that I wanted to paint the army to a high standard but not get bogged down in display quality when having to paint so many miniatures.
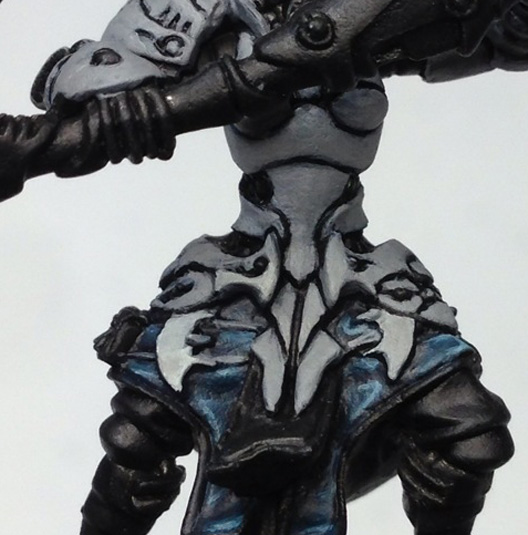
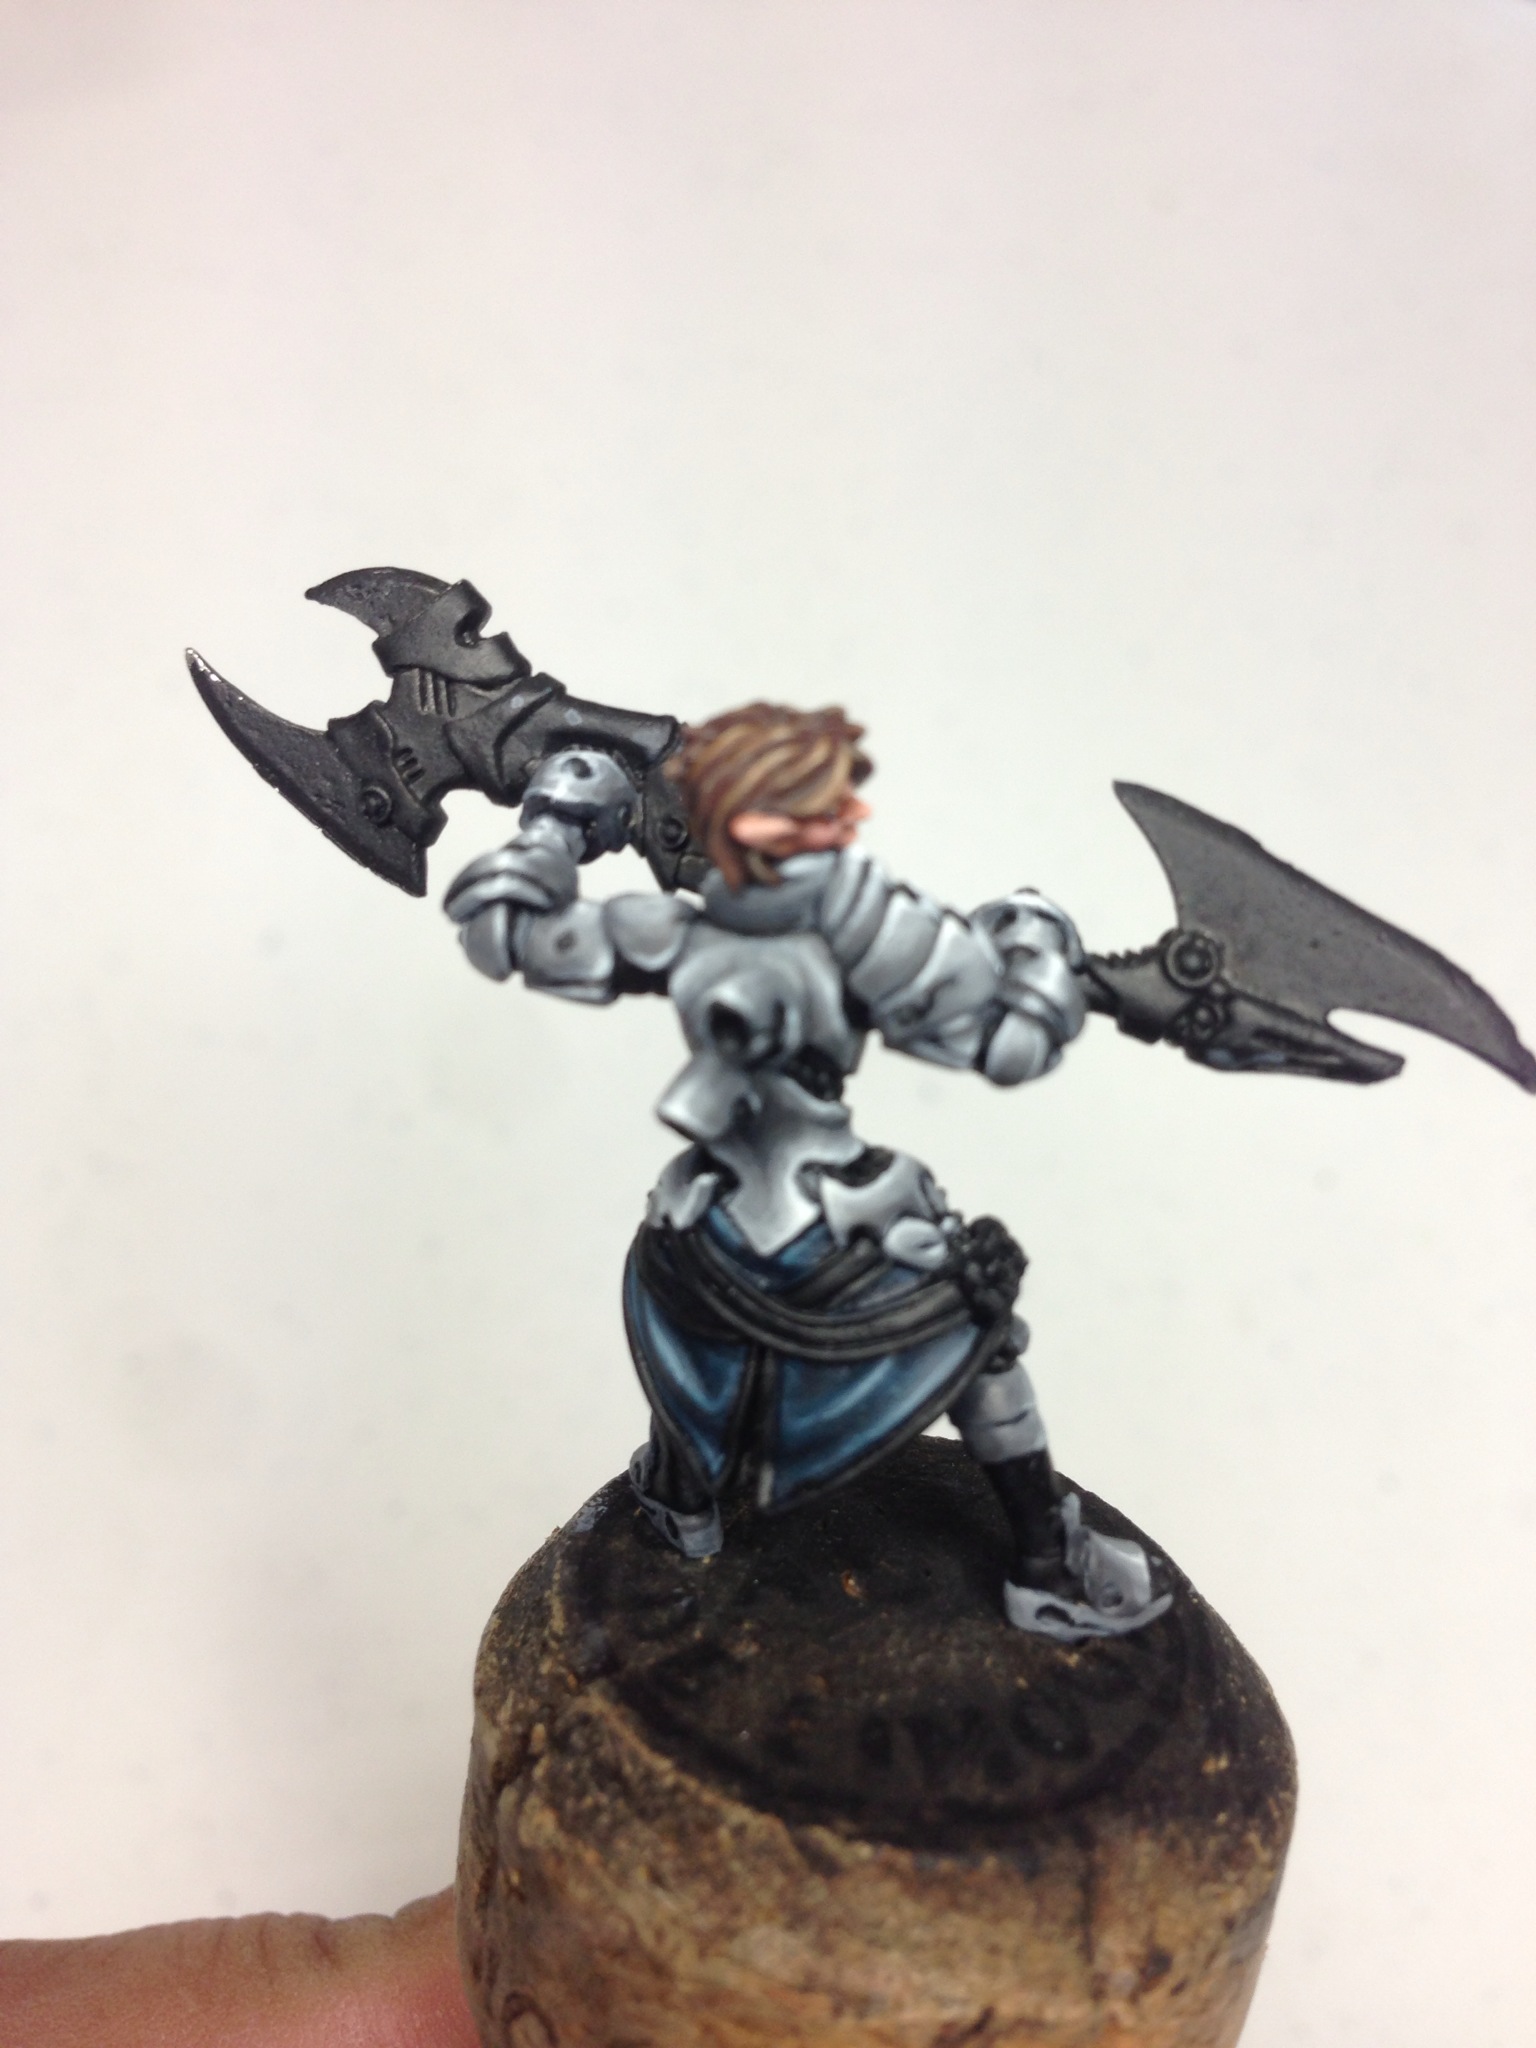
I tested these two elements out on my Warcaster – Ravyn. The following guide is how I painted her to the ‘high standard’ but something that was quick as well.
Step 1. Painting the Armour Grey
Over the black undercoat, a base coat of GW Administration Grey was painted over all the metal armour plates. I left the black edging showing as this would help me see the edges of the armour plates and provide a little shadowing.
I then began mixing a very little white into the grey and started painting the highlight. Whilst the highlight was still a little wet, more and more white was added to the mix and thus to the highlight until a 1:1 mix of both was achieved. The very edges of the plates were finally highlighted with a very thin brush with pure white.
 |
 |
 |
 |
 |
 |
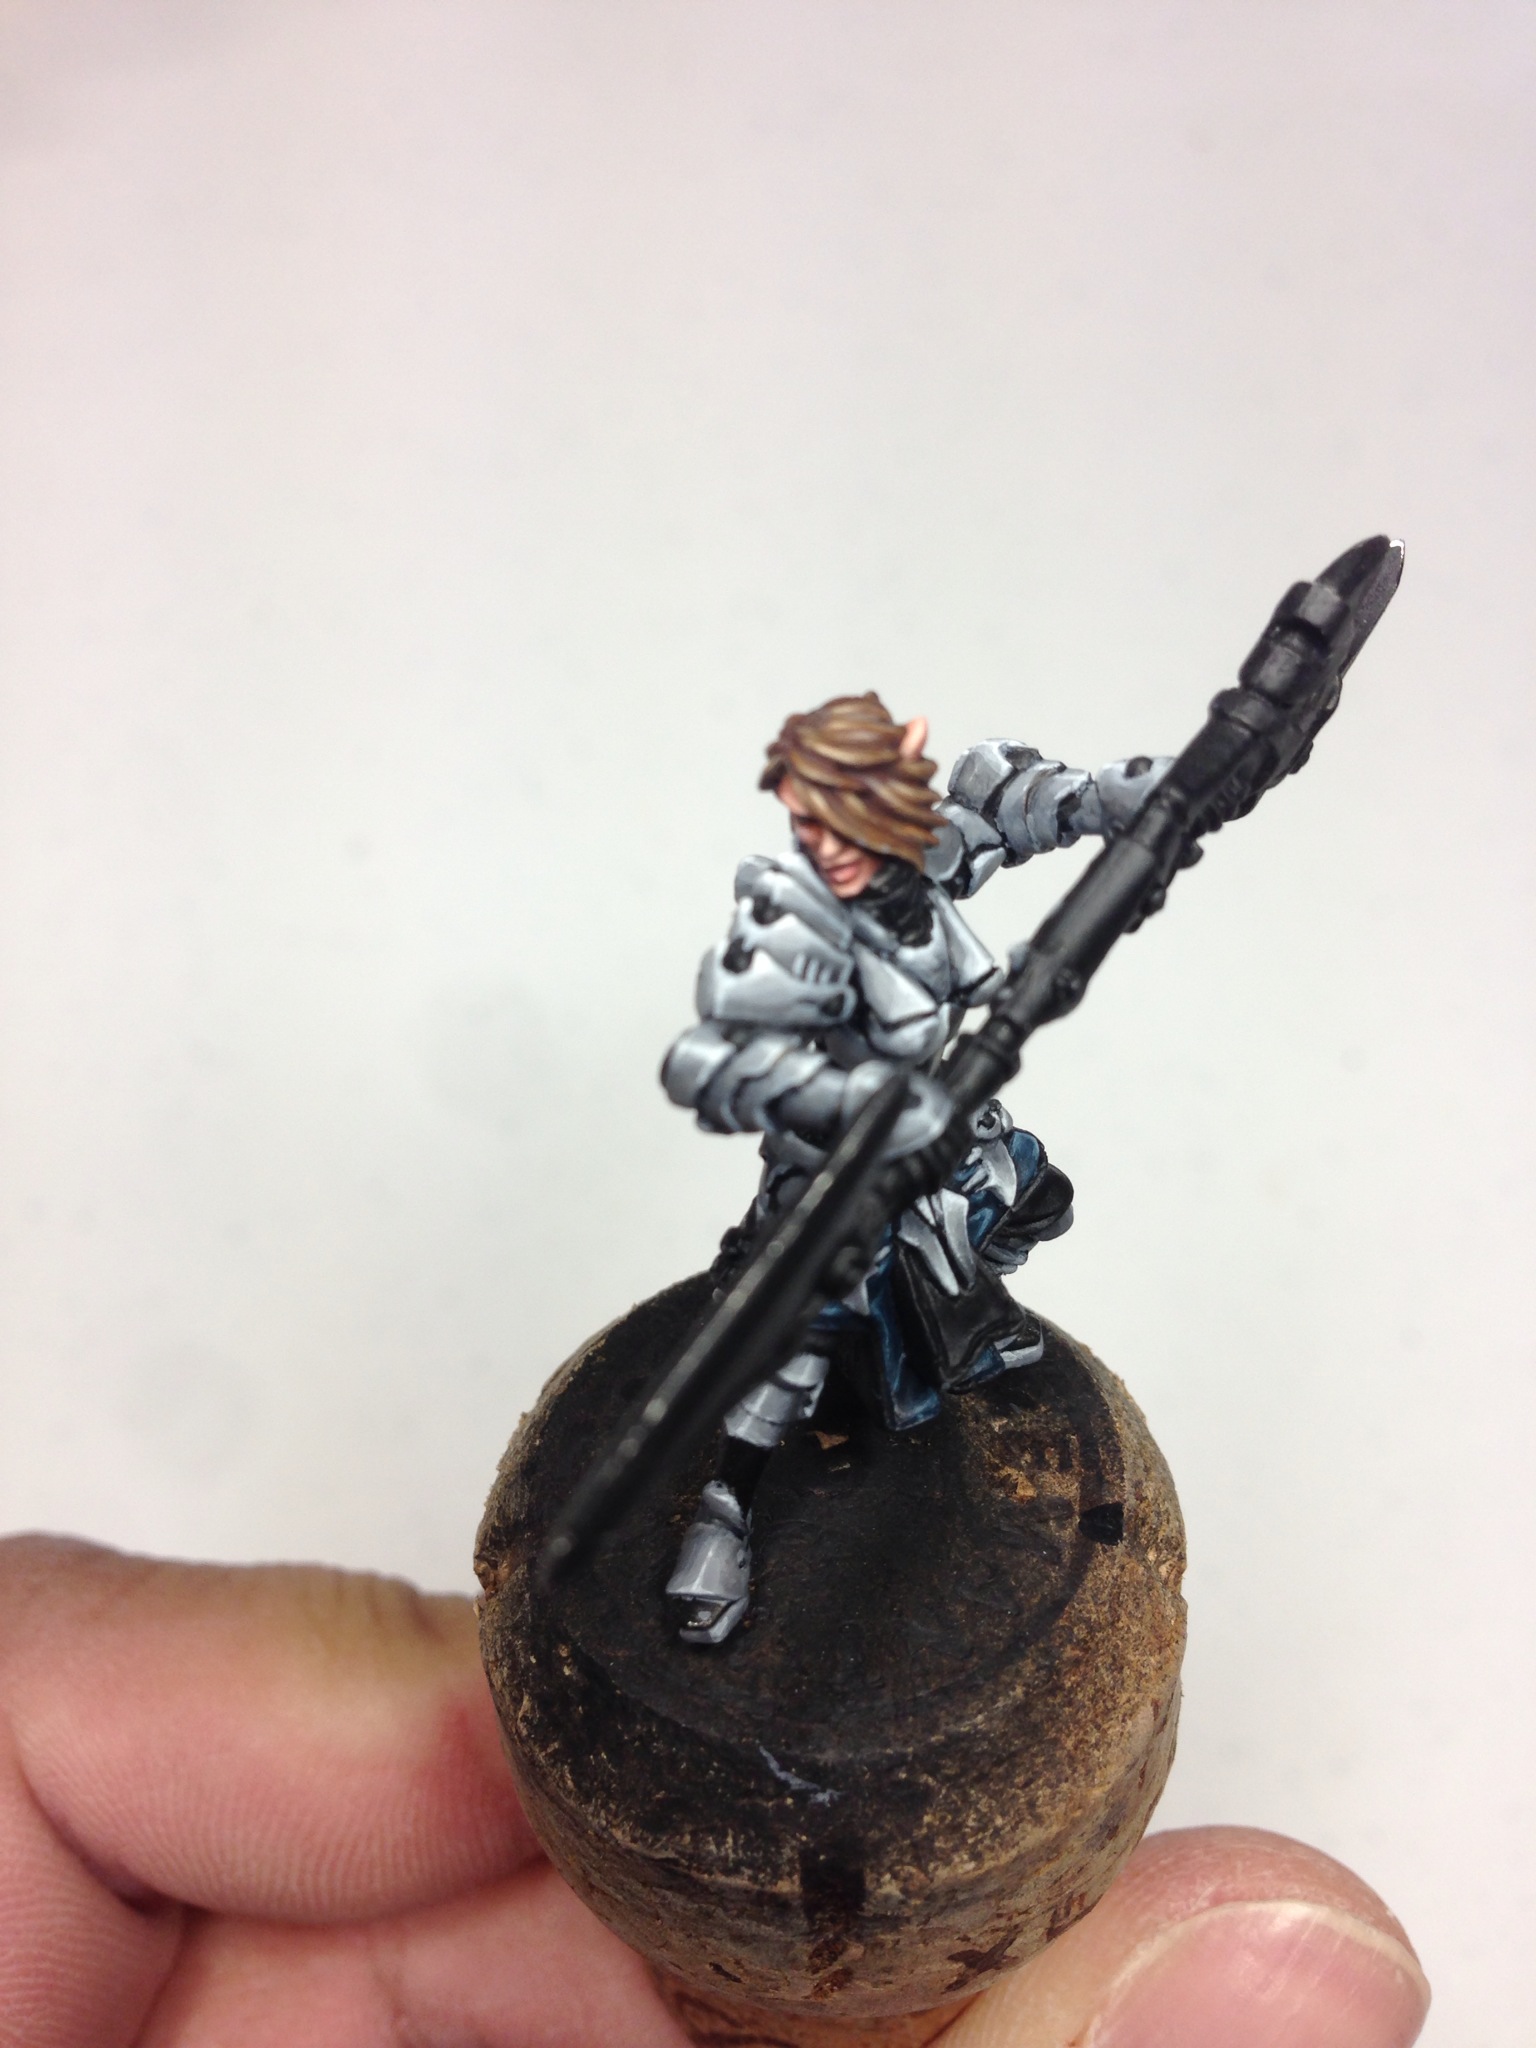 |
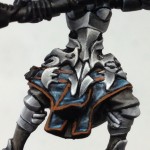
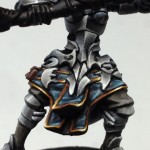
Step 2. Painting the Gold Cloth Trim

I wanted to off set the dark colors of the color scheme with something bright and vibrant. I decided in the end to use gold. Since I just finished all the armour plates in grey, there wasn’t much area left to put the gold other than the material skirt. I started painting the skirt edges in gold and the decided that it was just enough to bring some brighter color to the miniature.
To begin with, I painted the base coat in GW Mournfang Brown. Whilst it was a little wet, I mixed in a 1:1 ration of Mournfang Brown and Balor Brown on to the edges where light would be captured. I worked this highlight up until I was using just Balor Brown.
Next a 1:1 ration of Balor Brown and GW Zamesi Dessert was painted as the next highlight (leaving a little of the last highlight exposed). Again this was worked up until I was using just Zamesi Dessert.
Finally a 1:1 ration mix of Zamesi Dessert and white was used as the final highlight. This small highlight was mixed up until I was just using white (which was normally a dot at the peak of the highlight).
 |
 |
 |
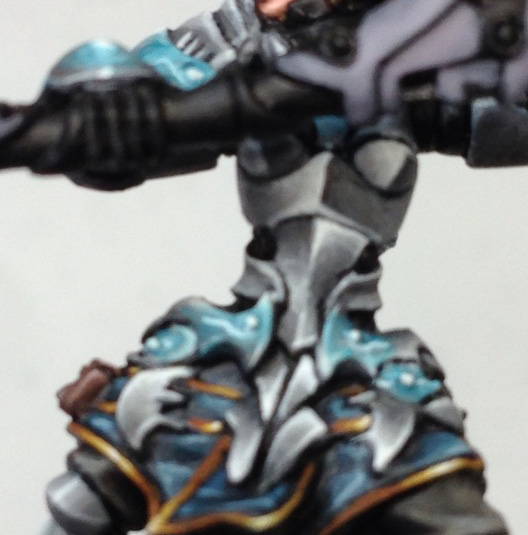
Step 3. Painting the Glow of the Runes
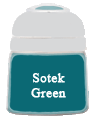
The Runes on the armour would still be a similar turquoise that the Warmachine Studio army used. Begin by dry brushing GW Sotek Green over and around the runes and rune stones on the army (ensure that your dry brushing spills over the runes and rune stones on to the armour surrounding it).
Next I began mixing in some white into the Sotek Green mix and began dry brushing each highlight within the previous highlight to give the gradual move from the green to a white (where the rune and rune stone sits at the center).
Finally the rune or rune stone was giving just a dab of white.
 |
 |
 |
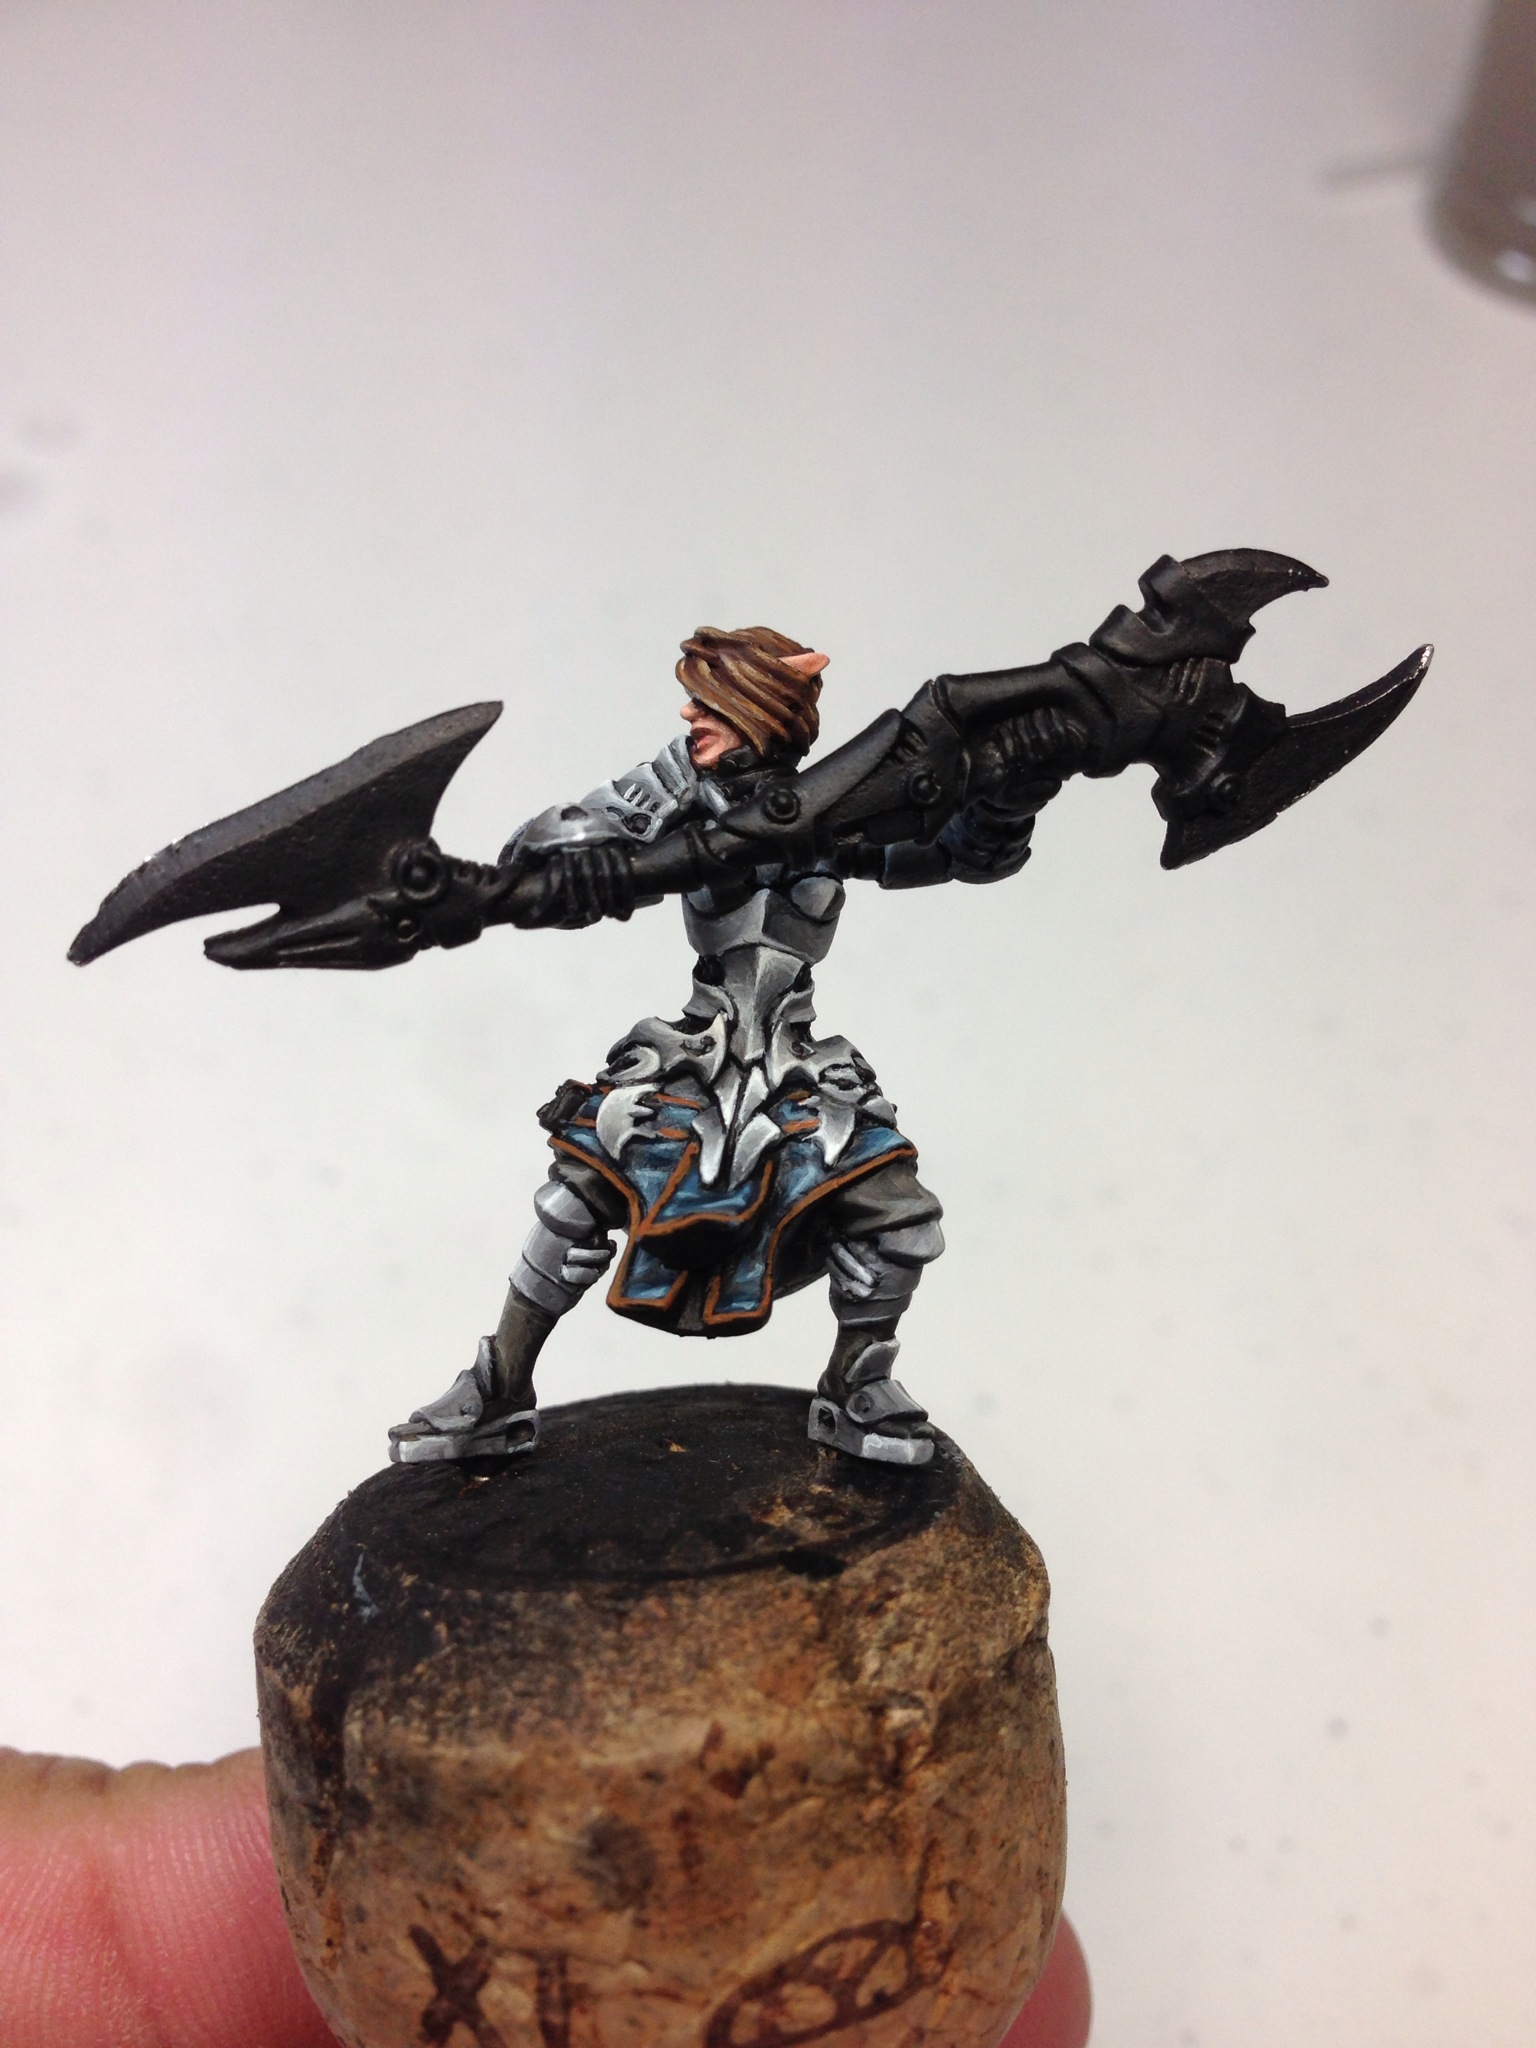
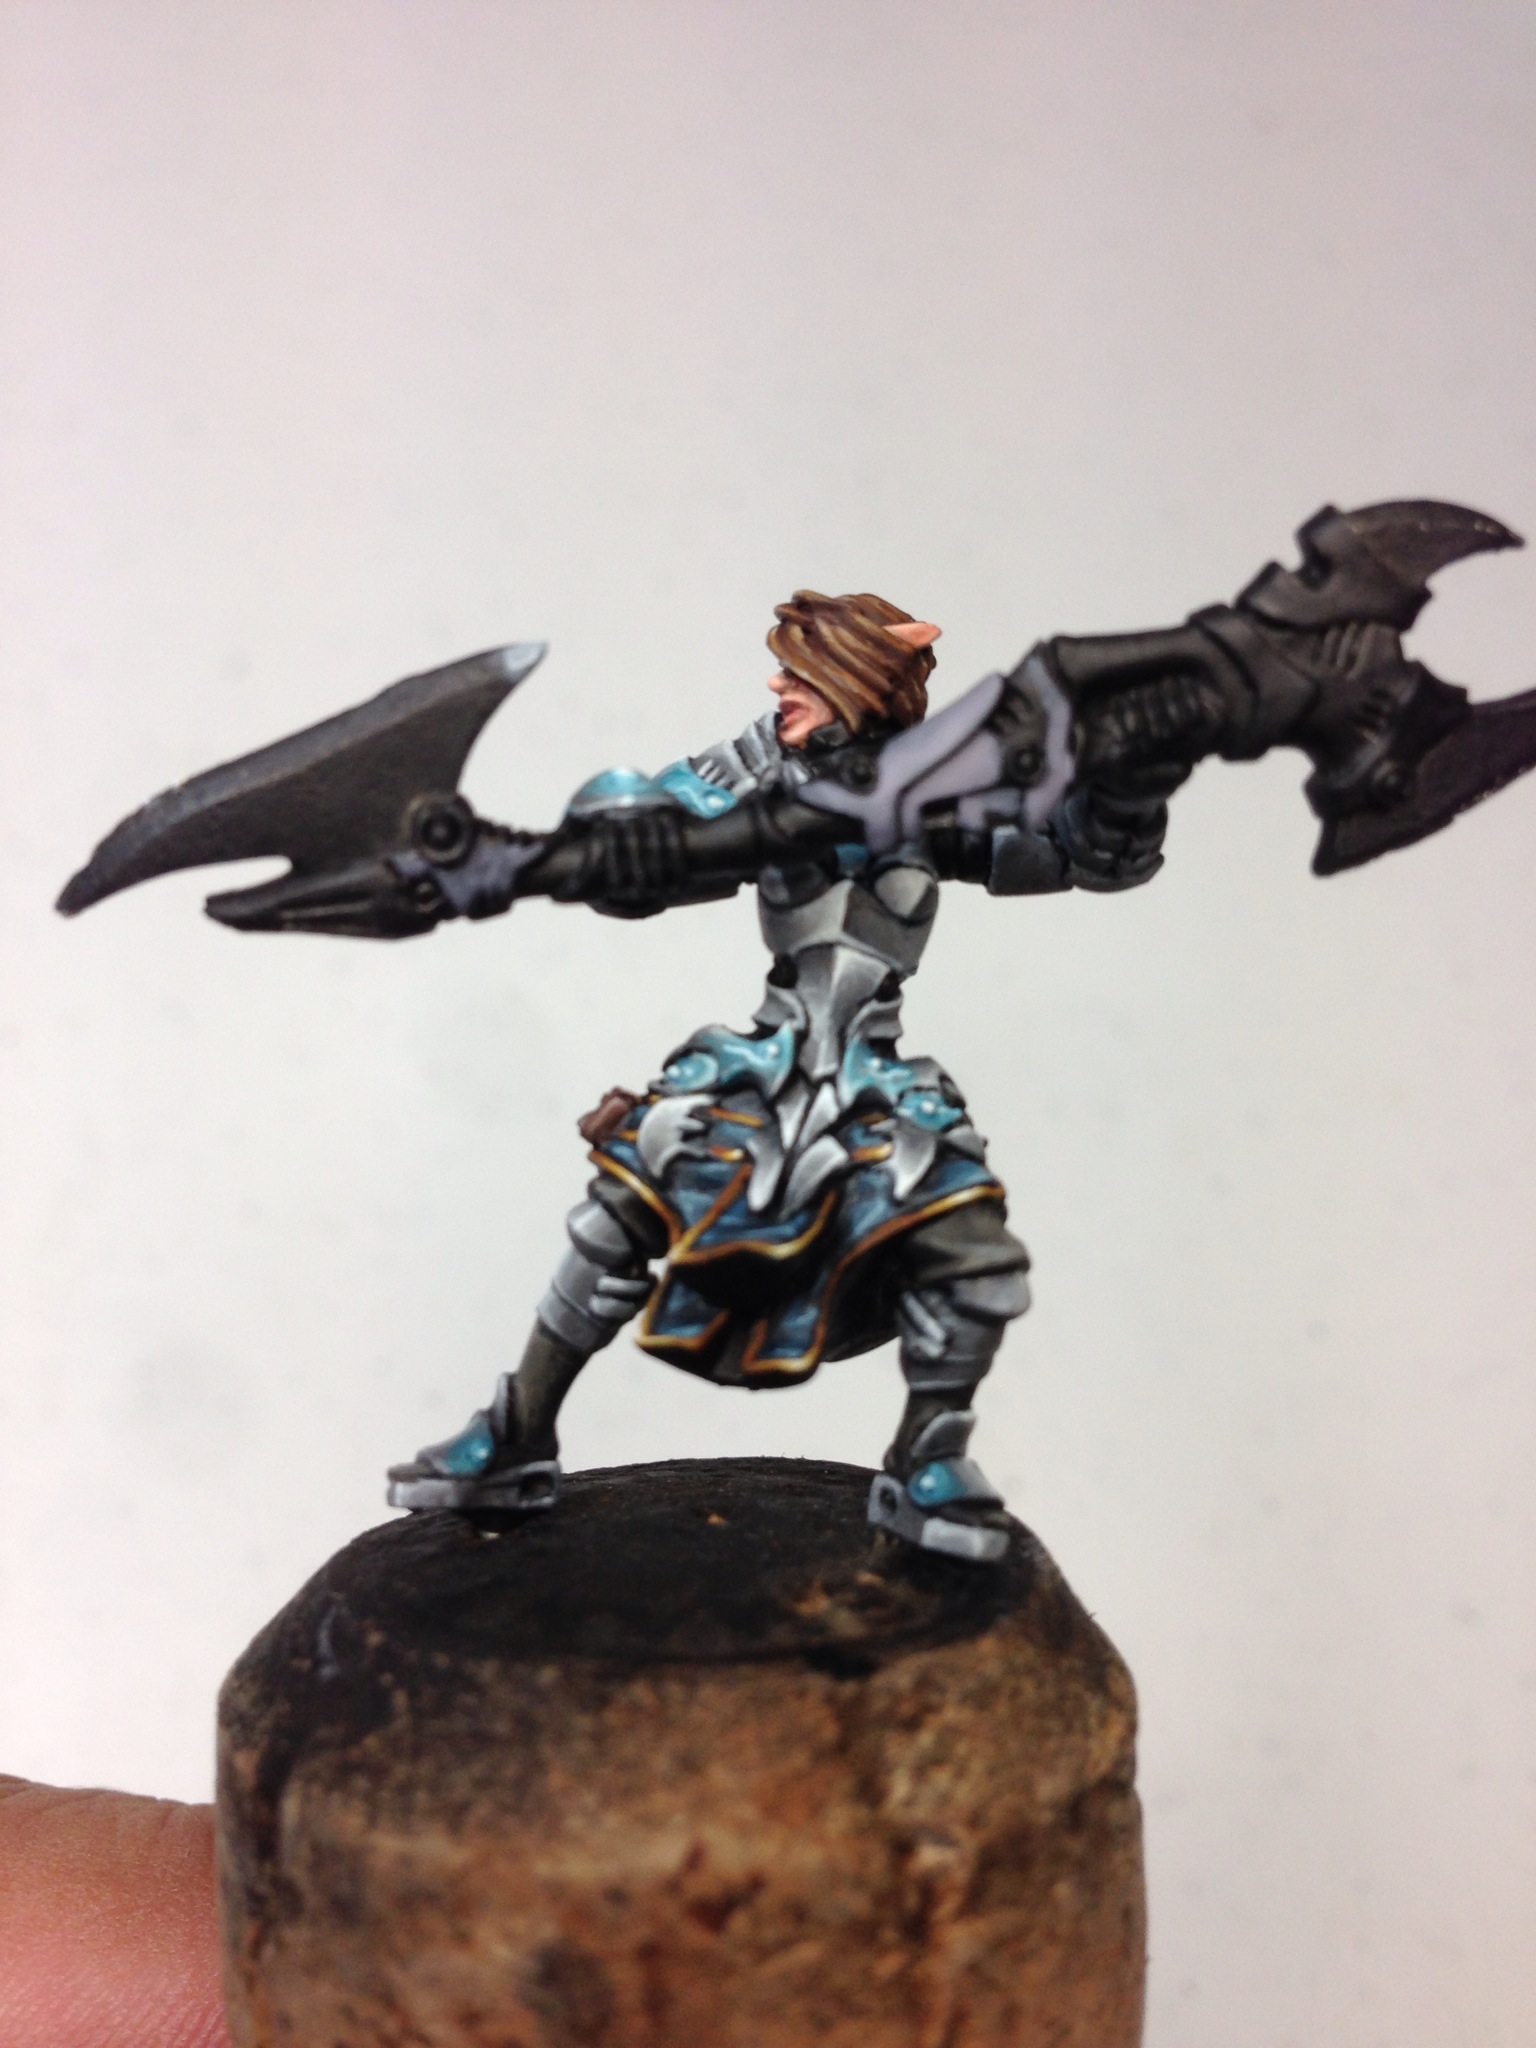
The Completed Miniature
That completes the miniature. I based her on a marble rock and put some flock and ivy around the base to green it up a bit. I’ll cover her skirt color, the weapon blade and marble painting in the next Warmachine painting guide.


Excellent tutorial, I really liked the colors you used and am thinking about using similar colors. I am new to the whole miniature wargame genre so I found this guide to be very useful. I was wondering if you ever made a follow up tutorial on how you painted the skirt and weapon.