 Several people have asked me how the blue has been painted for the Ultramarine force that we recently did for a commission. In this guide, I’ll cover how we painted the Ultramarine Dreadnought and the two colors that made up its primary colors; the blue and the gold (the metal we have covered in our Imperial Fist painting guide).
I keep using dreadnoughts for our painting guides as they are easier to see the color graduation and also easier to take photos of. You can easily apply this painting guide to the marines themselves.
Step 1. Painting the Ultramarine Blue


As always, I started with a black undercoat. The first step was to base coat the blue areas with GW Macragge blue. All the edges of the plates and the areas around the where the plates met another color were base then highlighted with GW Altdorf Guard blue.
The next step was to pick out these highlighted areas with a range of highlights. The next highlight over the Altdorf blue was a broad GW Calgar Blue. Finally using a 000 or 00 brush was to apply a 2:1 mix of Calgar blue and white.
I find that the blue is quite light using these new Games Workshop paints and they need to be darkened down a little. I use the GW Gullimen blue wash to paint over everything blue. This helps to darken the colors as well as blend them together a bit more. Take caution here that you don’t allow the wash to pool as it will act like a wash – something we don’t want to occur.
 Step 2. Calgar blue Highlight applied |
 Step 3. Calgar Blue with a 2:1 mix of white highlight applied |
 Step 4. Gullimen Blue wash applied all over to darken the blend |
Step 2. Painting the Gold Armour

The Eagle on the front of the armour was to be gold. Gold is a simple color to highlight, but you need to be careful to thin the paint just a little with water as they are naturally a lot thicker then your normal colors.To begin with, I painted the base coat in GW Gehenna’s Gold. The next step is to wash the entire surface area with GW Agrax Earthshade wash. This will provide the shading for the gold. Once this is dry, I took some more Gehenna’s Gold and dry brushed the raised areas again.Once this was dry All the raised areas were highlighted with GW Auric Armour Gold. Try to not paint the areas that are closer to the edges to provide the illusion of shade (letting some of the Agrax Earthshade wash and a little of the Gehenna’s Gold to show).The final highlight is to mix a 1:1 ration of Auric Armour Gold and GW Runefang steel. Using a very small brush or the edge/side of your brush, paint the edges of the plates to make each plate ‘pop’ from the others.
|
|
|
|


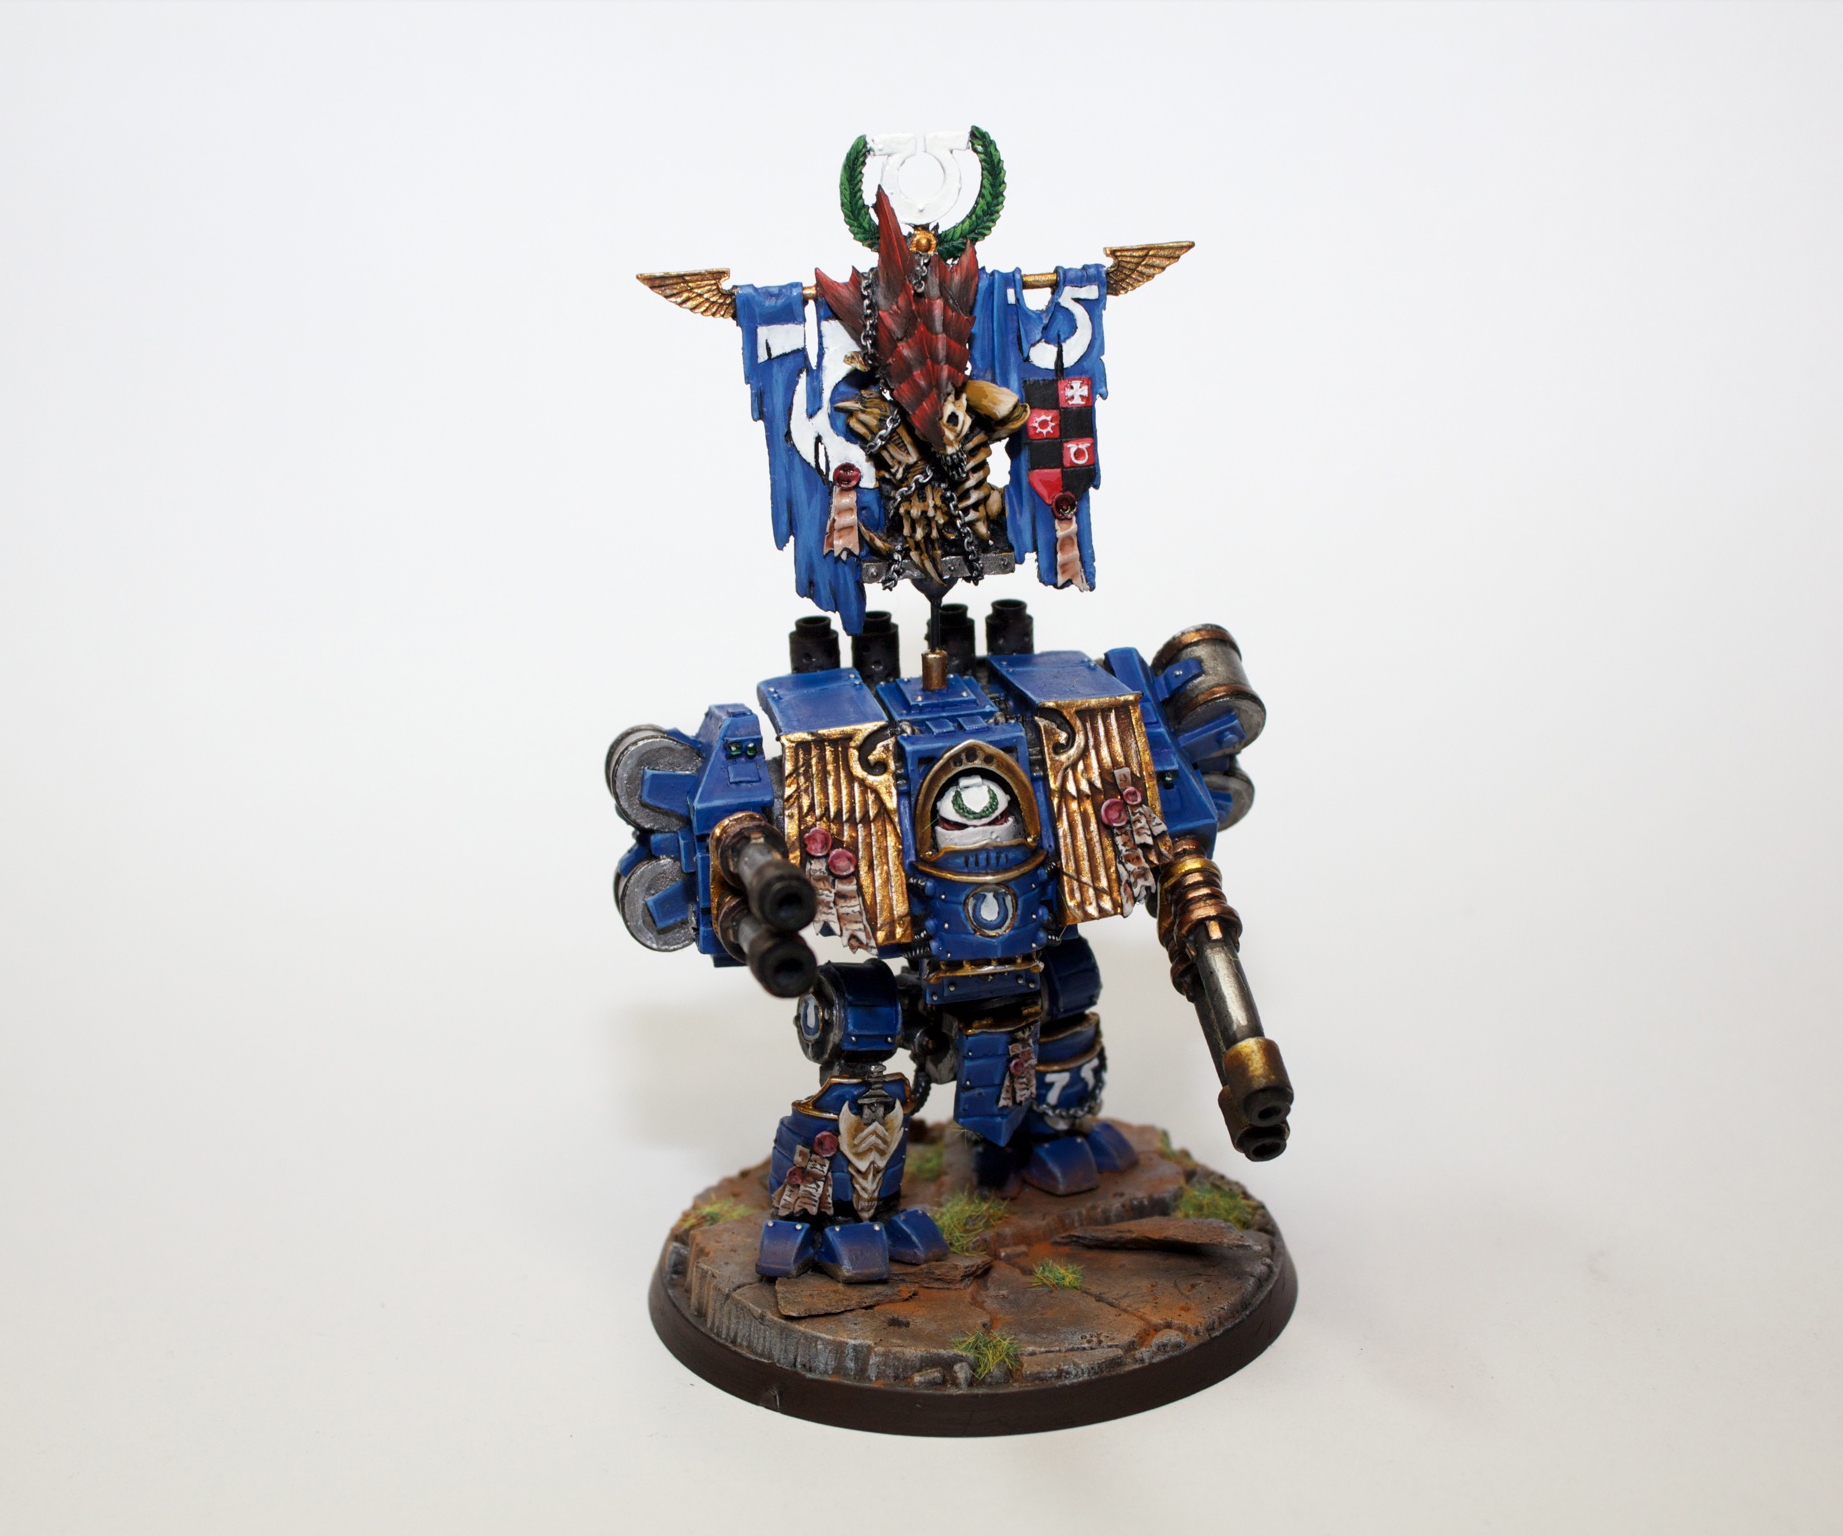
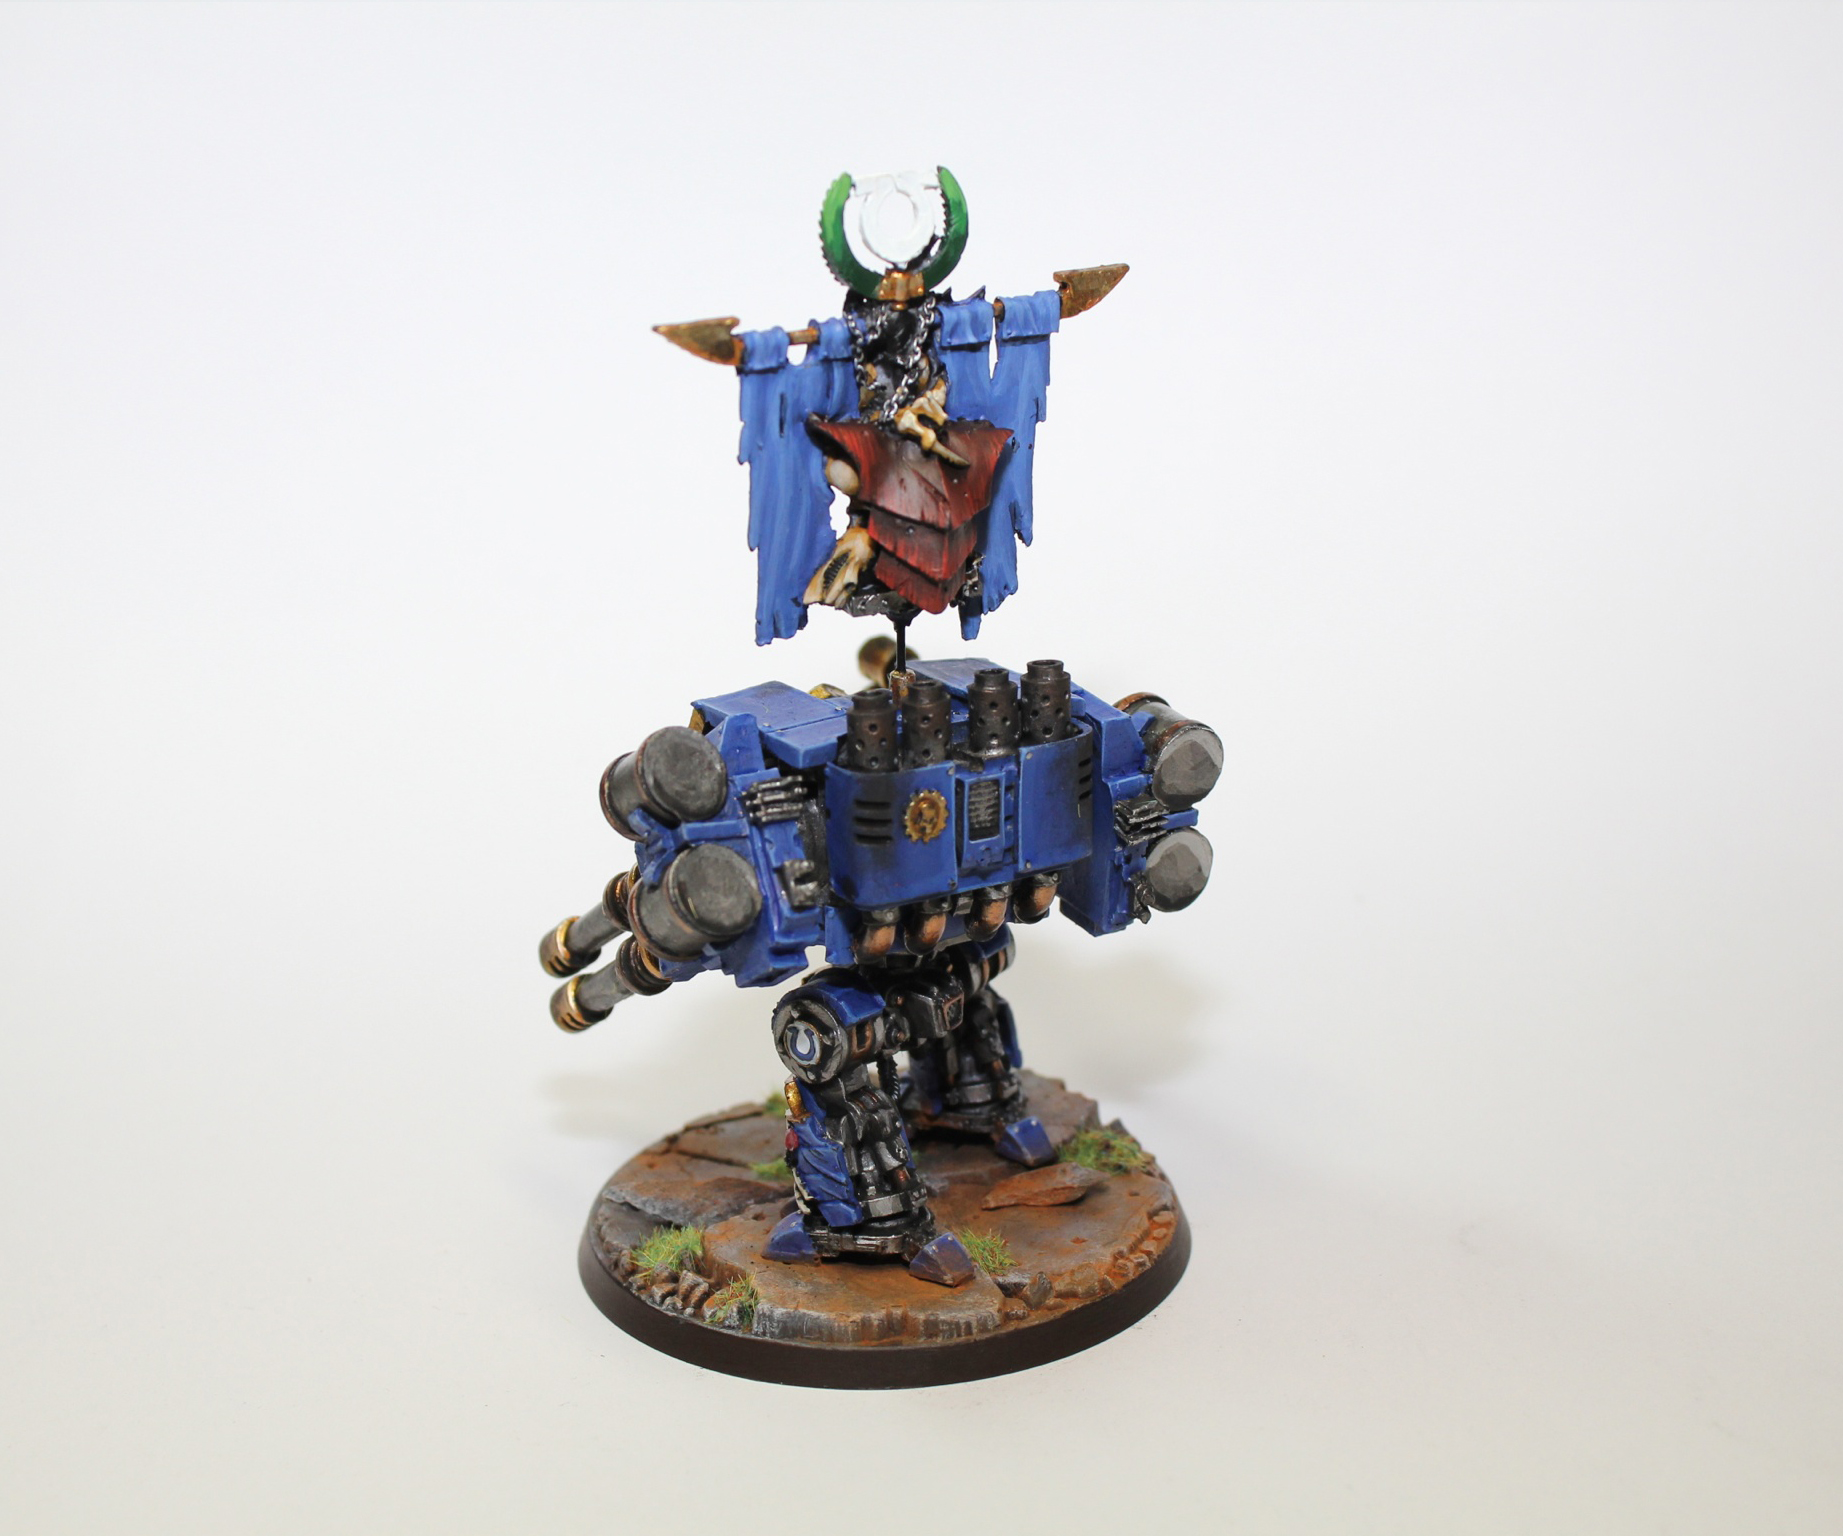
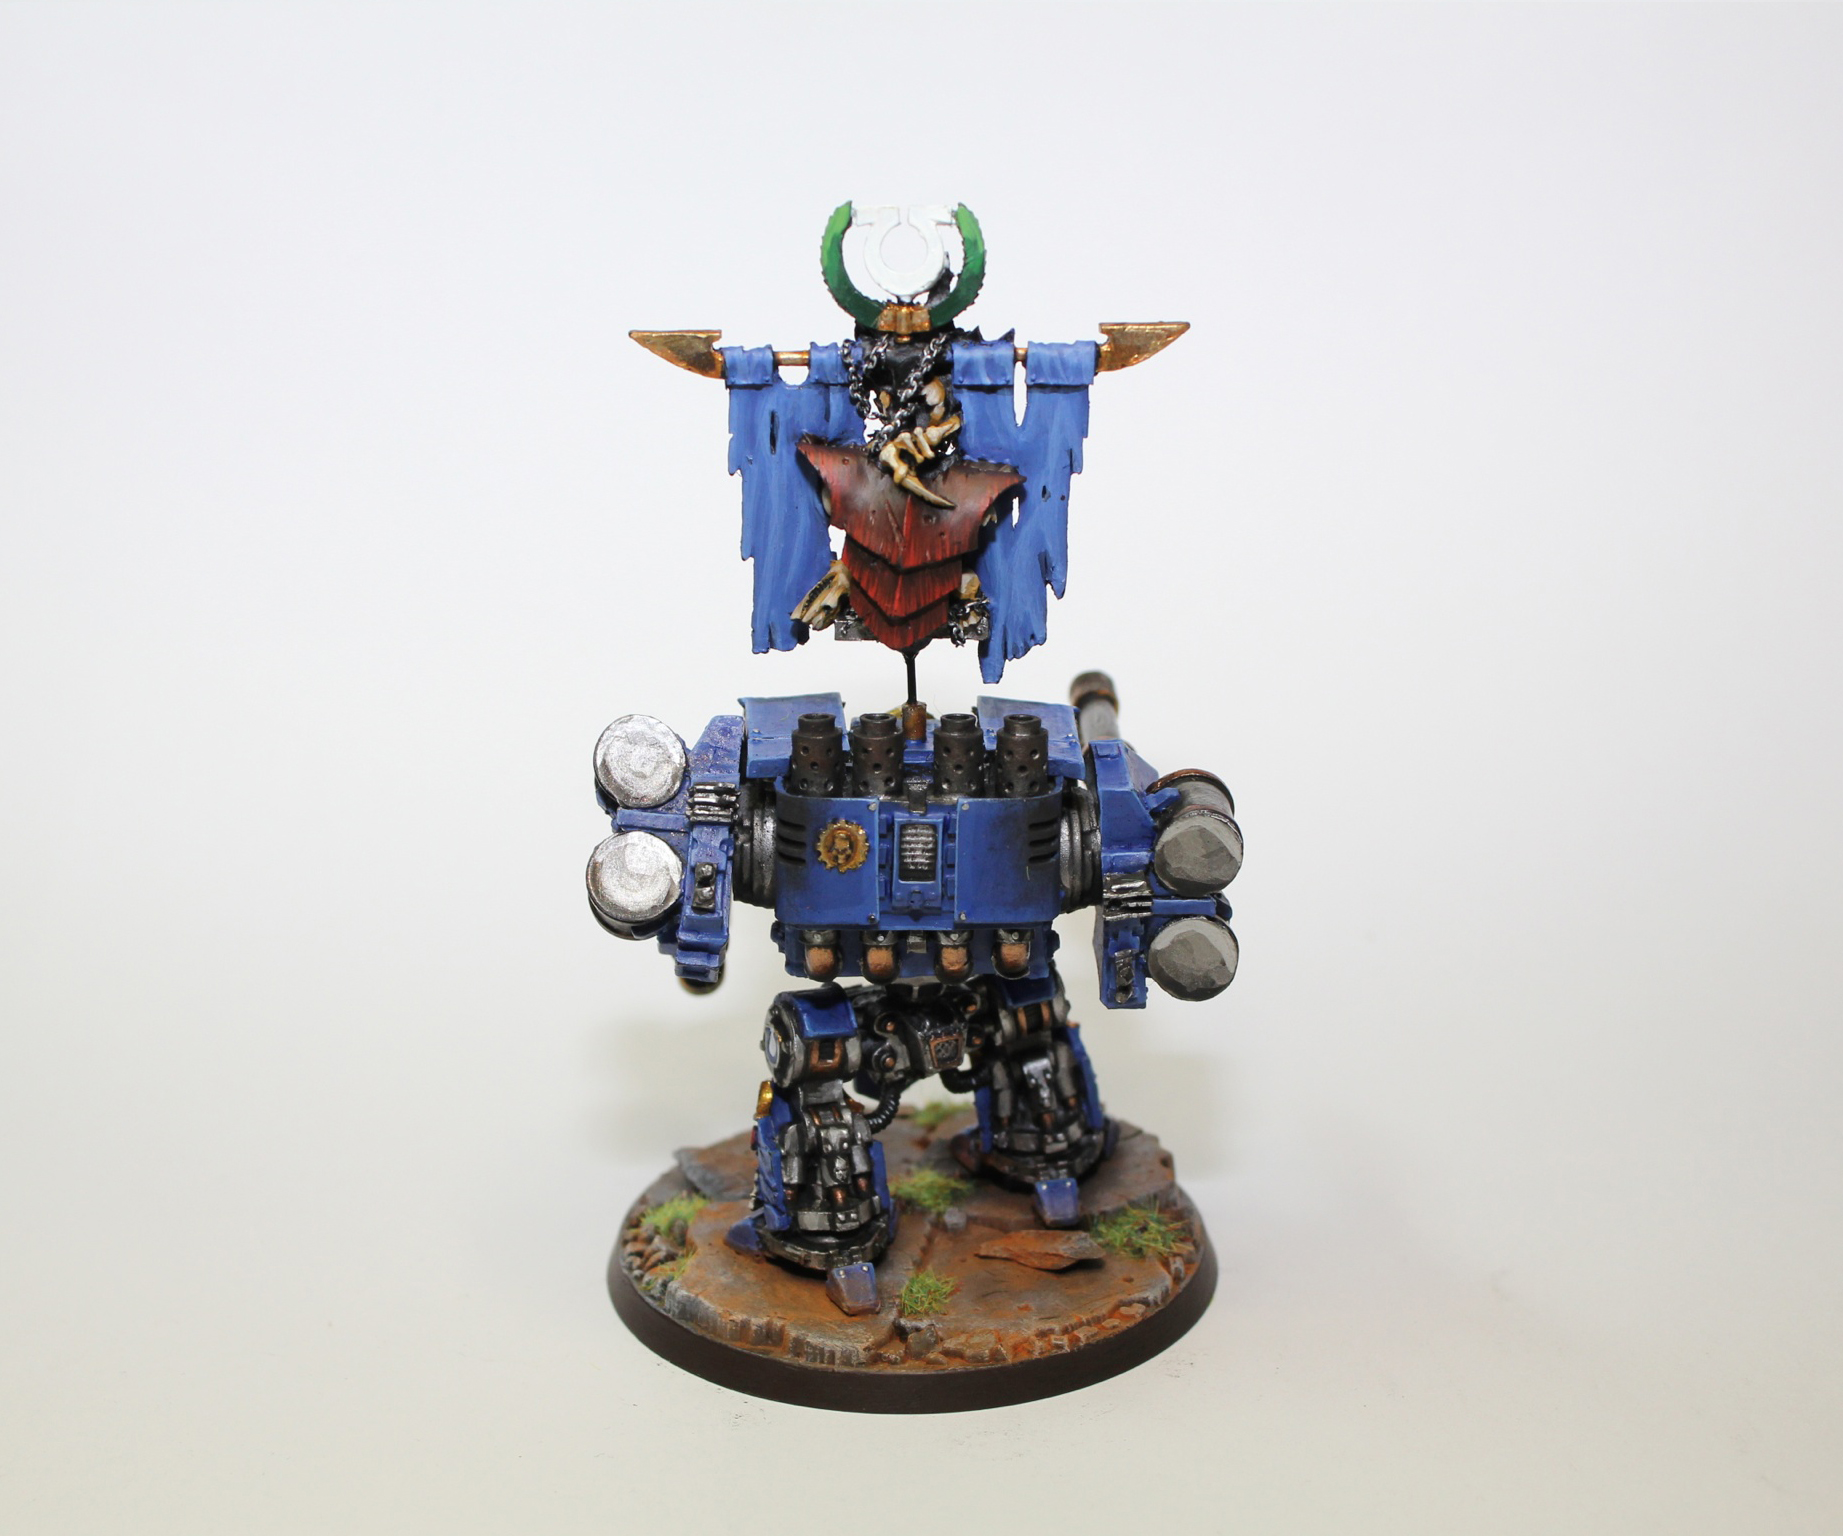
The Completed Miniature
That completes the dreadnought. The blue on the banner was painted the same was as the armour but without the wash so to make not look like the armour. It was a based on the standard dreadnought base with a little bit of grass applied sporadically around it.


Pingback: Ultramarines - Traditionally Painted - Centerpiece Miniatures