Grimnir’s Thunder steams out of docks and into the ocean sea.
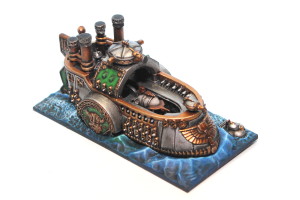 When painting Grimar’s Thunder, it is best not to assemble the ship prior to painting. This will allow easy access to the ships engine.
Undercoat all three main components in black and ensure that the water is painted separately from the ship itself.
To begin with we will paint the middle section of the ship, the engines and flyer first. The bottom components of the engine (not the steam stacks) were painted first in GW Bolt Gun metal. Then layer highlight this with a 1:1 mix of GW Bolt Gun Metal and GW Chainmail. Finally highlight the extremes in Chainmail. We don’t want to go to light in highlights as this area is in a recessed part of the ship and we want the steam stacks to ‘pop’ in color. The Barrel is painted in GW Calthan Brown, the layer highlighted in 1:1 mix of Calthan Brown and GW Bleached Bone. Finally lightly dry brush the top part of the barrel in Bleached Bone.
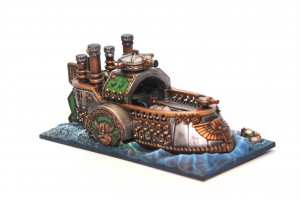 The Flyer is painted in three parts, the engines, the balloon top section and the bottom section. The engine is painted in the same way we painted the ships engine area. The Balloon top section is painted in GW Dheneb Stone. It is then washed using GW Devlan Mud. Once the wash is in the recesses, layer the raised area again in Dheneb Stone. Finally mix a 1:1 mix of Dheneb Stone and White and paint the highest exposed areas. The bottom section is painted in GW Knarloc Green. Now since this section is not really seen, just do a single highlight of GW Snot Green. And this completes the mid section of the ship.
At this point we can glue the ship together, and ensuring that any cracks in the joins are covered in ‘green stuff’ or another putty. Remember to go over your putty work with a file and then undercoat.
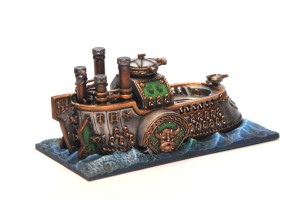 Base coat the steel areas of the ship in a 1:1 mix of Bolt gun Metal and Chainmail. Layer the rims of the steel plates and the protruding curve of the steel in in chainmail. Once dry, apply liberally a wash of GW Badab black. Once dry, mix a 2:1 of chainmail and GW Mithril silver and pick out the edges of the steel plates, and around any of the cannon holes. Finally take Mithril Silver and pick the top edges of the plates as the highest highlight.
All the green panels should be painted before the gold to ensure there less repainting required. Base coat the green panels in Knarloc Green. Once Dry, wash the panel in Badab Black, paying attention to the recessed areas. Begin layering the middle sections of the panel in a 1:1 mix of Knarloc Green and Snot Green. Layer the next highlight in Snot Green. Finally mix a 1:1 Snot Green and Goblin Green for the last highlight layer and apply in to the middle of the panels.
Finally is the gold paintwork. Begin by mixing a 1:1 of GW Shining Gold and GW Scorched Brown and apply as the base coat. Proceed to layer the next highlight in Shining Gold. Once dry, apply a wash of Devlan mud, again paying attention to the recessed areas and the holes between the runes. Next mix a 1:1 Shining Gold and Mithril silver and paint this to the edges of the gold areas. Finally paint Mithril Silver to the very edge of the larger gold areas.
The last location for painting should be the steam stacks. Base coat this in GW Tin Bitz. Proceed to dry brush the middle of the stack with a 1:1 mi of Tin Bitz and GW Dwarf Bronze. Finally dry brush a small amount of Dwarf Bronze in the middle most section of the steam stack pipe.
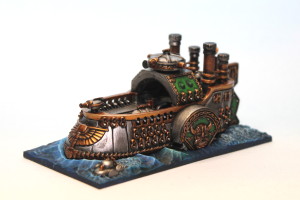
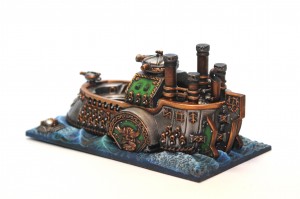
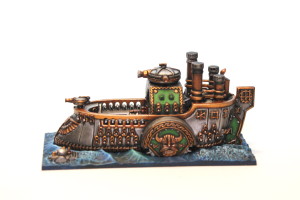
Here is a completed Grimnir’s Thunder:

Pingback: Returned from Leave
Pingback: Dreadfleet WIP - More Ships finished - Centerpiece Miniatures